
This is a wonderful way to add extra journaling space to your small albums.
There never seems to be nearly enough room for journaling in small scrapbooks. I always want to make sure that I have plenty of pictures to document the event, but when you have a 6×6 book, how do you fit in enough journaling to thoroughly document the occasion as well? They say a picture is ‘worth a thousand words’ but sometimes, I need the words. I have recently been going through pictures from when my children were small. I hate to admit it, but my son is 19 and my daughter just turned 18, so those are pretty old photos. I wish that I had known then what I know now about scrapbooking. Only about half of the photos have dates and places on them and some photos have me racking my brain trying to remember where we were and what we were doing. This got me thinking that there had to be a way to add more space for journaling without compromising the space that I use for my photos. I didn’t want to have to add extra pages to the book either.
I started looking around on the Internet and thumbing through my scrapbook magazines and found a few options, but nothing that thrilled me to much. Then while I was brousing through an online gallery, I saw that someone had a tag with journaling sticking half way out of their page. That’s really all it took for me to try and figure out how it was done and what I could do with it once I figured it out.
CREATING YOUR HIDE-A-TAG
Deciding on your album style is always the most important first step. Do you want 6×6, 8×8 or will you be using a shaped album to compliment your photos? Once you have that figured out, you will need to get a general idea of the size you will be making your pictures.
Step 1:
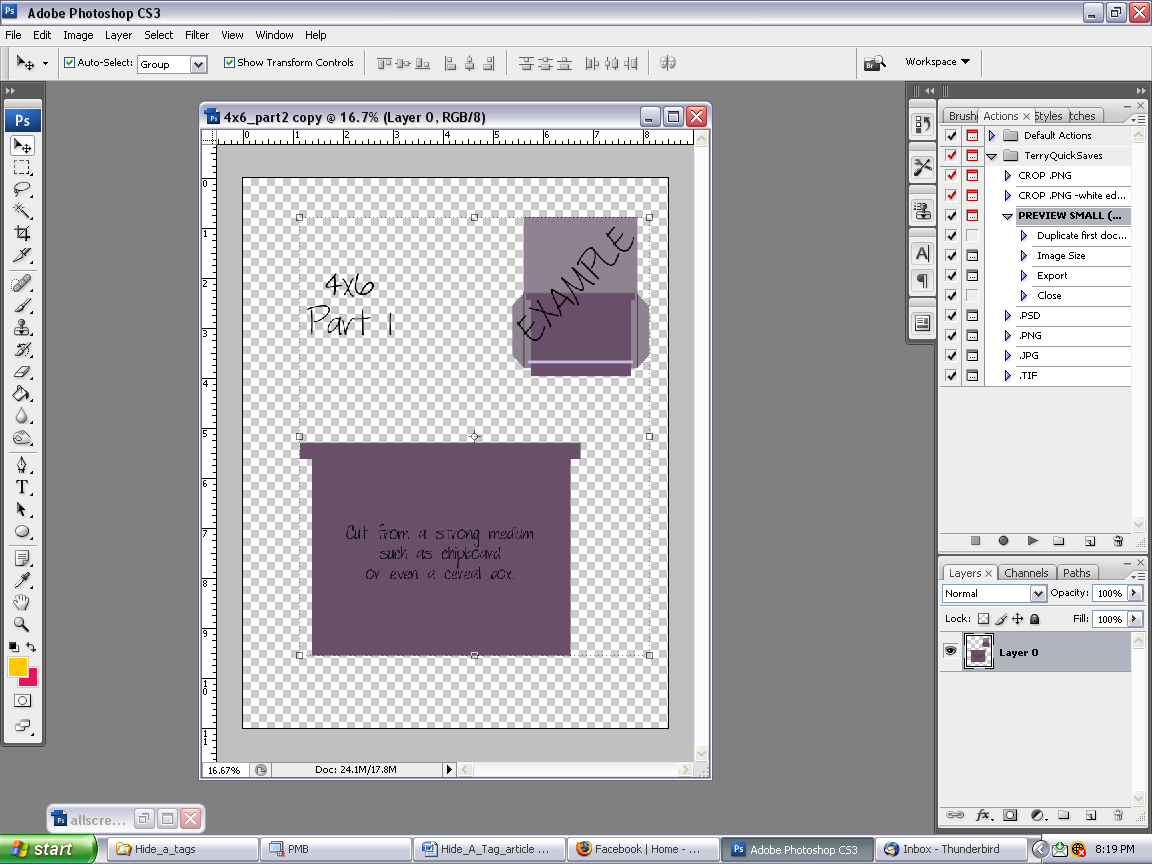
I am going to create a 4×6 hide-a-tag for an album that I am working on to sell in my etsy store. The full album size is 6×12, so a 4×6 photo will easily fit. The first thing you will need to do is download and open the template files I’ve included for you! DOWNLOAD HERE. Once you have unzipped the file, open it in Photoshop or any other photo editing software.
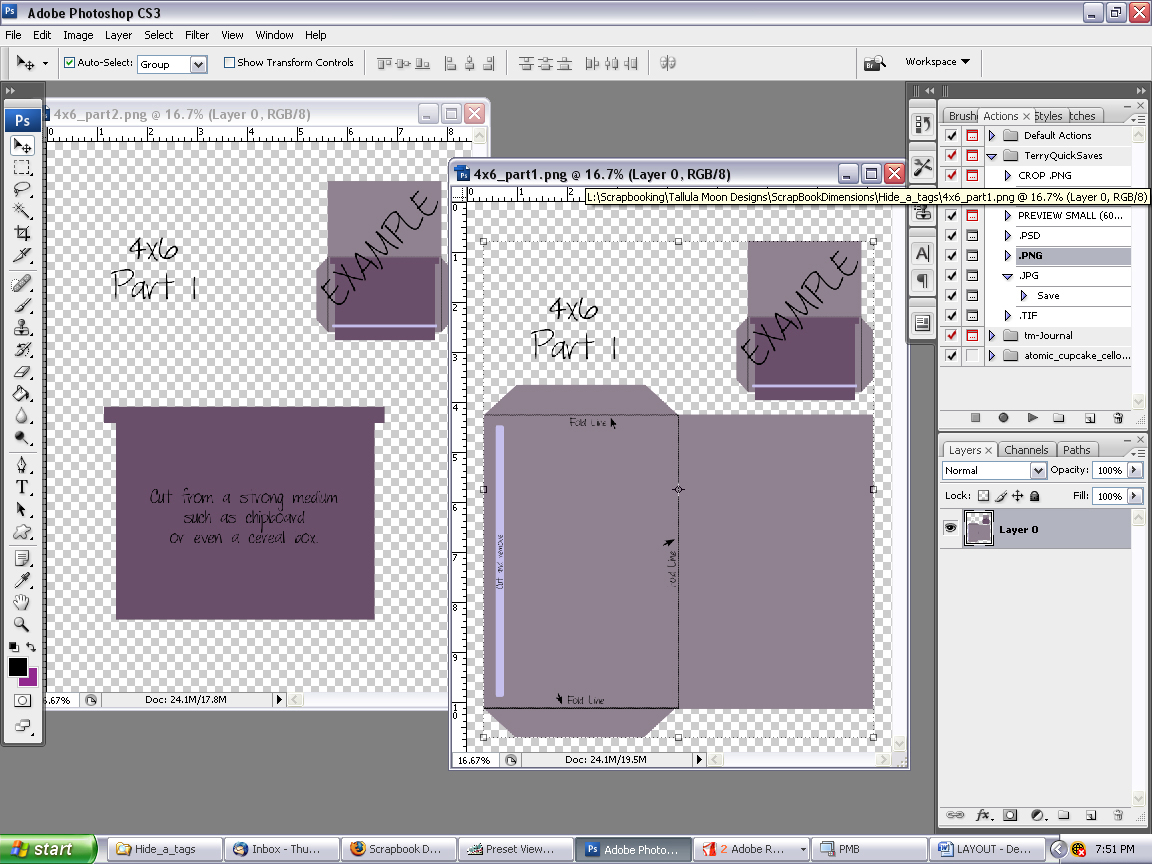
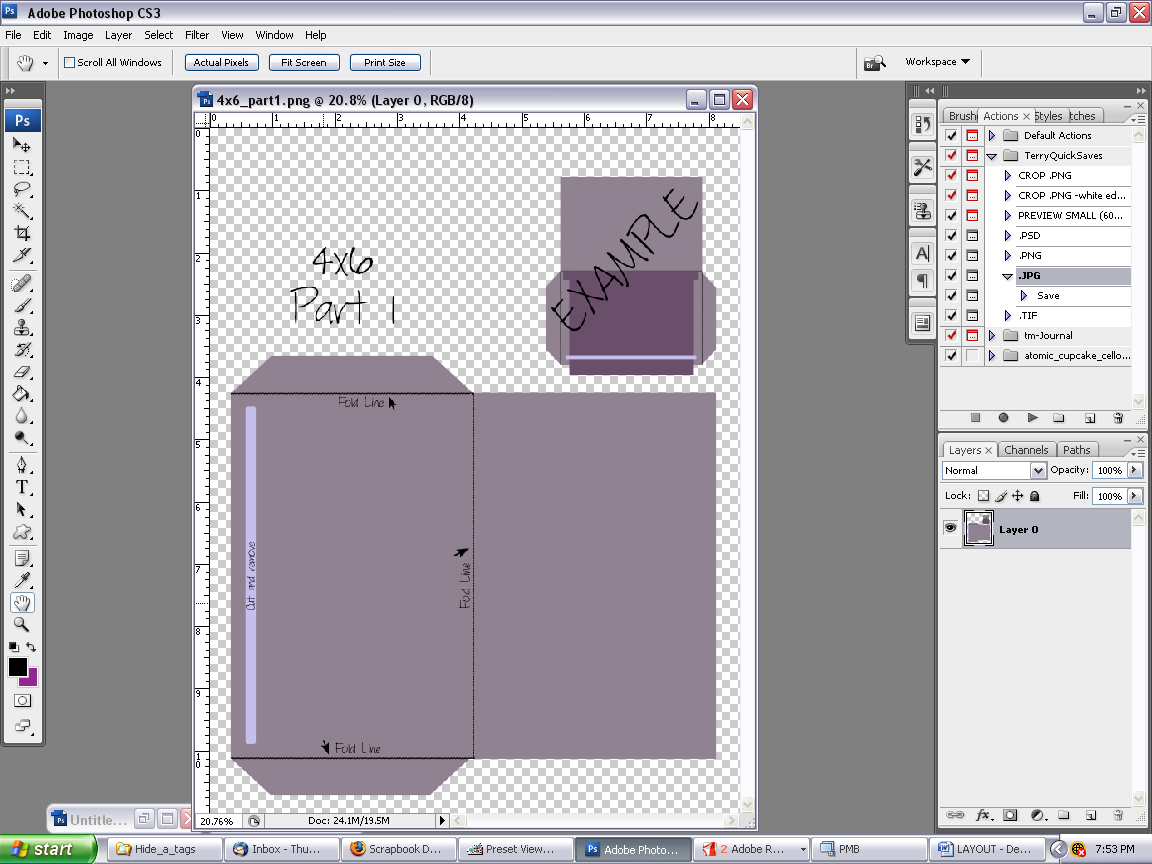
As you can see, the 4×6 is 2 files. The 3×5 is only one. Let’s concentrate on Part 1 which only consists of the outer envelope.
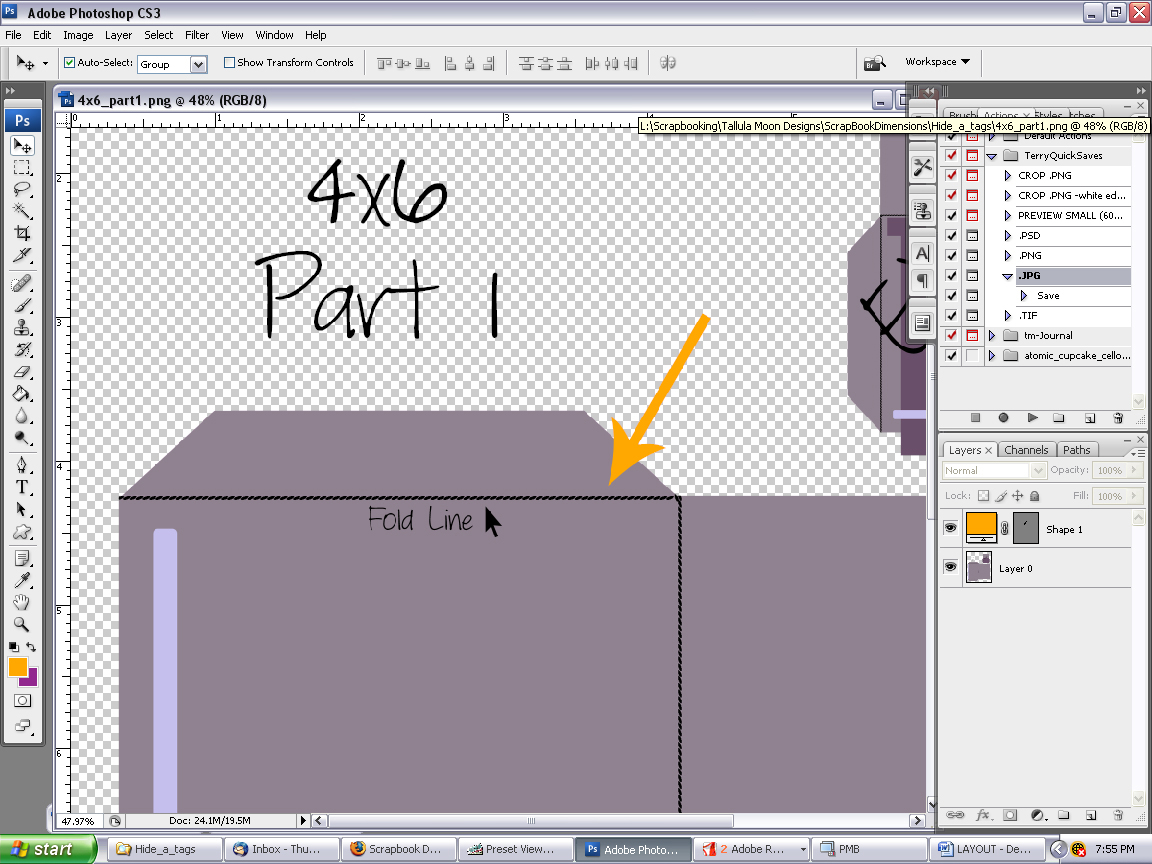
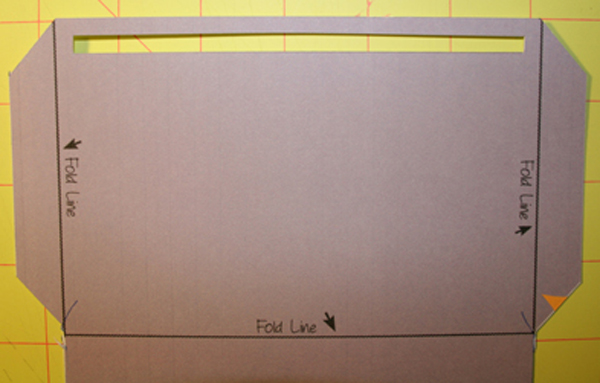
If you zoom in, you will see that there are “fold” lines printed on the template.
These fold lines are important to make sure that your hide-a-tag folds evenly.
Next let’s look at Part 2 which is the actual tag part of the hide-a-tag.
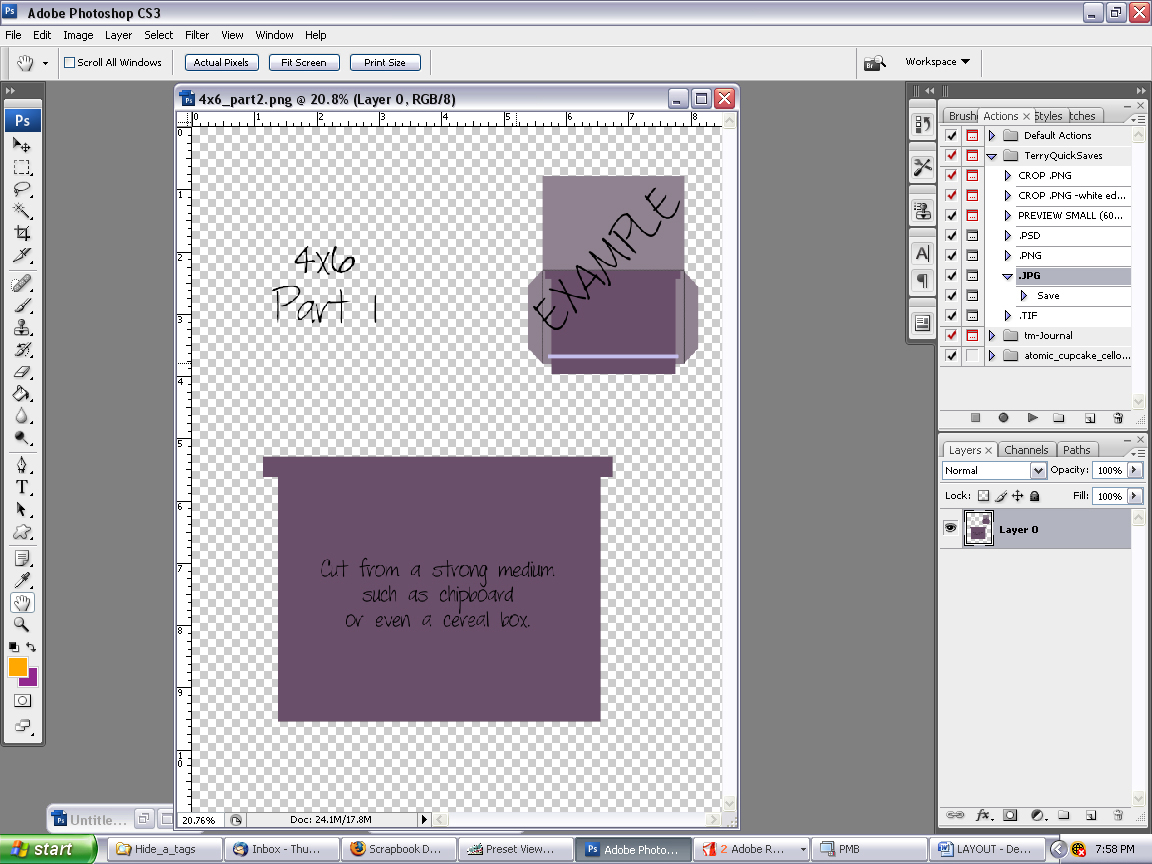
Zoom in…
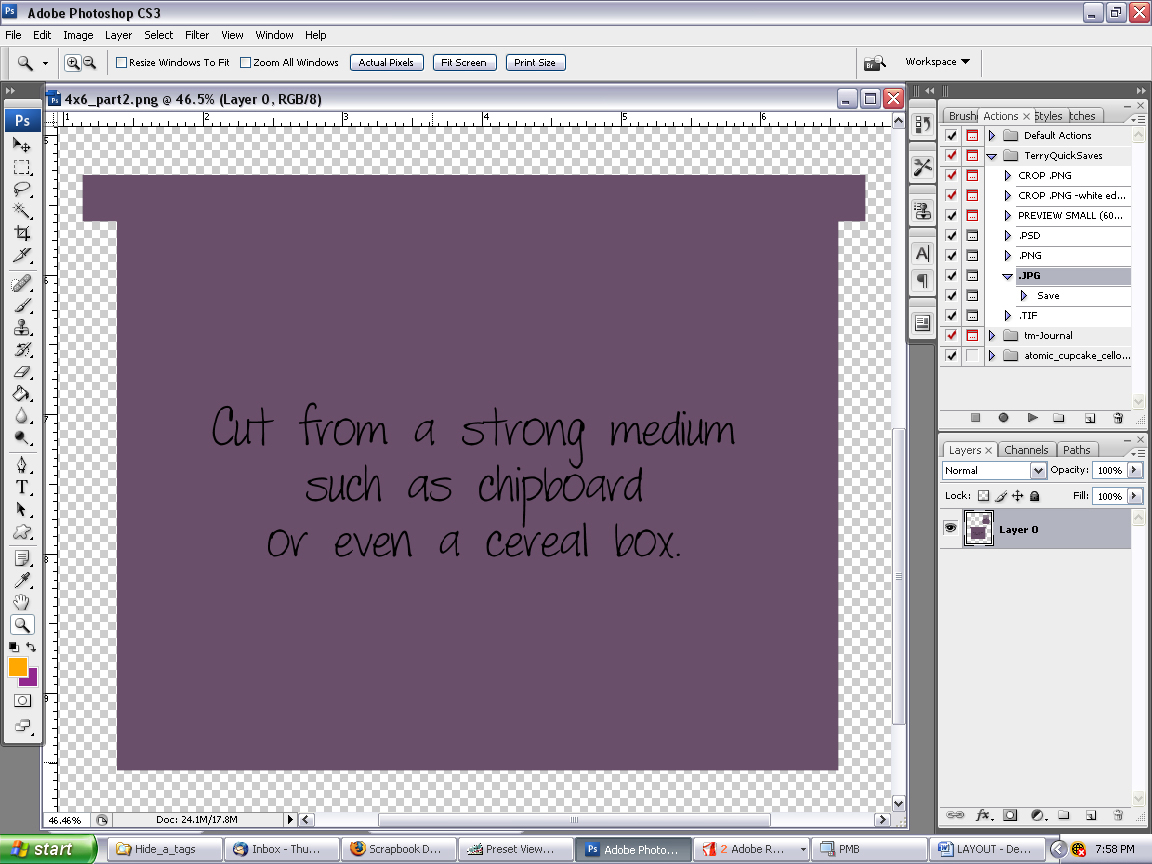
For my tag, I use chipboard which I purchased from a shipping supply company. You could very easily use the cardboard from a cereal box, soda box, or any other medium that doesn’t bend too easily. Keep in mind though, you need to be able to cut it.
Once you have decided which medium to use, you will need to print out both Part 1 and Part 2. I have printed mine out on cardstock so that I can cut the template and use it over and over again.
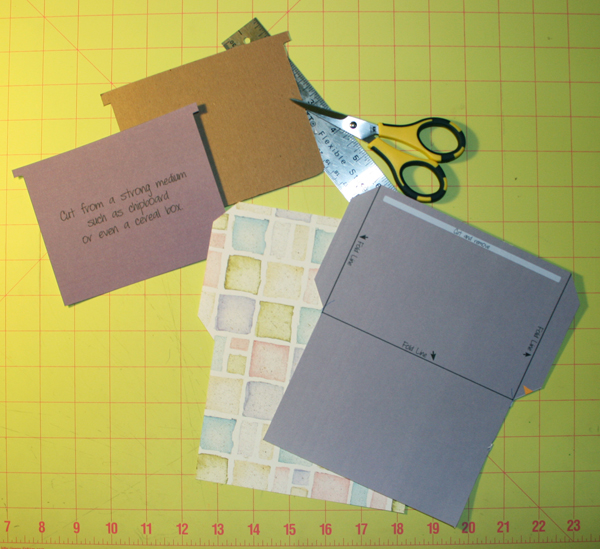
I usually use a paper that I know I won’t ever use for any other reason. You can use plain white paper if you like, but I can usually manage to find a paper that I consider “ugly” or “unusable” because once you cut it out and start putting it together, you won’t be able to see anything but the tag (or chipboard) portion of the project anyway. This will all make much more sense later in this tutorial. I also do this so that when the tag and envelope are covered with the mat, there is more strength and I don’t worry so much that it will rip. You can also choose to use a paper that will fit into your album and you won’t have to cover it with a mat at all. This is just my preference from several learning experiences.
When your pieces are all cut and you have cut the slit into your envelope piece, you will need to decide how you want to cover the tag/chipboard piece. You will need to do this before you assembly the project otherwise you will have several problems on your hands. Part Two of this tutorial is going to be how to create a special tag with lines for journaling on the computer, printing it and then using it for your tag. For Part One though, I will show you how to cover the chipboard and assemble the project.
Step 2:
Before you make your final decision on the paper you are going to use on your tag, decide what you will be covering the envelope part of the hide-a-tag with. I always make a mat that covers the envelope completely so that you only see a small portion of the tag sticking out at the top. When you are sure of what you plan to cover the envelope with, you can decide how you want to cover the tag. I suggest using a sturdy cardstock. The tag will be pulled out a lot to be looked at and the paper covering it will need to be able to withstand that type of treatment.
The first thing I do is run my tag through my Xyron machine so that the piece is completely covered in glue. This ensures that I will never have lifting anywhere on the tag and I know that the paper won’t peel away from excessive pulling. (You can just use any other kind of adhesive. Just make sure that all the edges of the piece are covered with adhesive.)
Place the tag on the wrong side of the paper and trim right up to the edge of the tag. I use an X-acto knife to be sure that I get very close, but you can use scissors if you are more comfortable with that. I never, ever, trace my tag onto the paper and cut it to fit. I have had several issues with the paper being clipped too short and, more often than not, I can’t seem to get it on straight. This is easier for me and I always know that my tag will be perfect. Of course, you can do this step any way that you feel comfortable with.
After my tag is covered I take a sanding block and sand the edges of the tag in a downward motion, away from the tag. This makes the paper blend a little bit better with the chipboard.

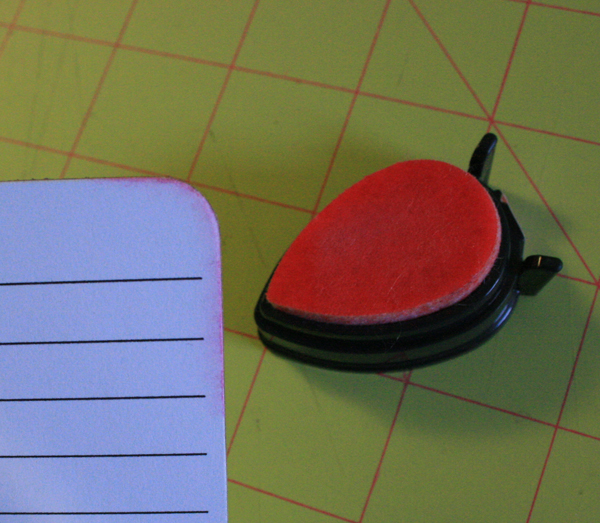
After I’m satisfied with the sanding on the tag, I usually will ink the edges. I do this for a couple of reasons. One, if I have made any mistakes on the edge of the tag, this will cover it up and two, I think it gives it a softer, more finished off look. It’s just my preference and of course, you should do this however you like.
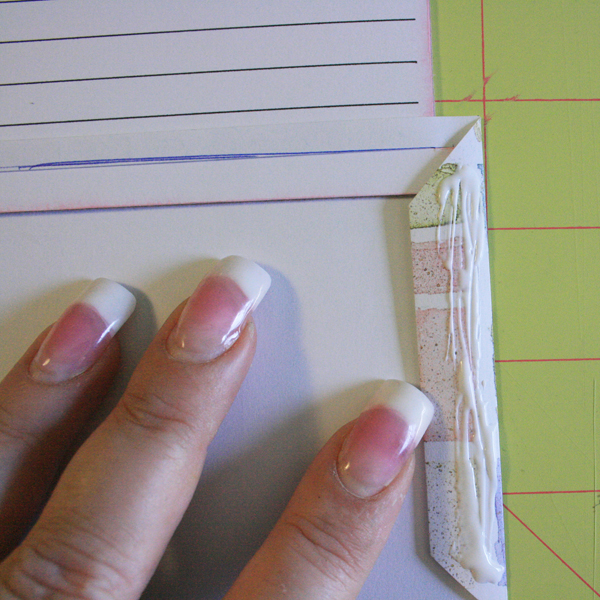
When you have covered both sides of your tag, take your envelope and lay it face down. Feed the tag into the envelope from the bottom of the slit as shown below:
Make sure that your tag easily slides through the slit. Also be very sure that the small tabs on the bottom edges of your tag do not slip through the slit. This is how your tag will stop at the edge of the envelope and keep from falling out. If the slit in your envelope has been cut to wide and the tabs do slip through, do not throw away your envelope and start over. There is an easy fix. Take a small piece of tape and cover a very small portion of the edge of the slit. You will need to do this on both sides to keep the tag even in the envelope.
When your tag is fed through the envelope and you are sure that it slides easily and doesn’t slip out, fold the two side tabs of the envelope in, towards the tag and put a small amount of Tacky Glue on each of the tabs, keeping close to the outside edges.
Fold the bottom of the envelope up. Make sure to line the edges up so that your envelope makes a perfect rectangle. Be very careful that you do not get glue anywhere on the tag or it will not slide. I usually use a toothpick to spread the glue out and make it thin enough so I don’t have to worry about it dripping out of the seams.
I always clip the envelope together with small clothespins to keep it together while it dries.
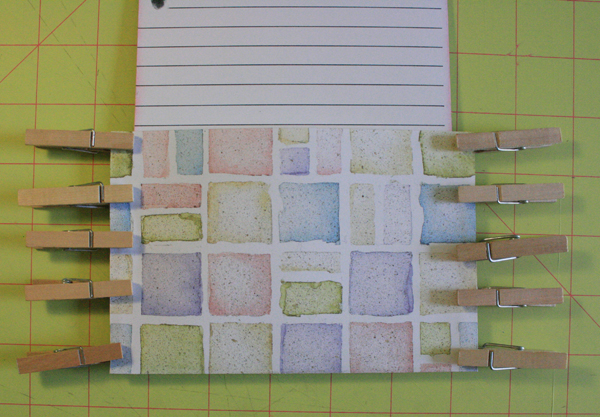
After a couple of hours, I remove the clothespins and my project is ready to be added to my book.
Since I’m not quite ready to put this into the book that I’m currently working on, I will show you one that I have already done for this book.
PART 2: Creating a Custom Paper for your Tag
For me, this is always the fun part. I get to be extra creative and it’s like opening a present every time someone pulls the tag out.
Open Photoshop and open the tag template, part 2.
Click: Image -> Duplicate (PHOTOSHOP ELEMENTS: Click File -> Duplicate)
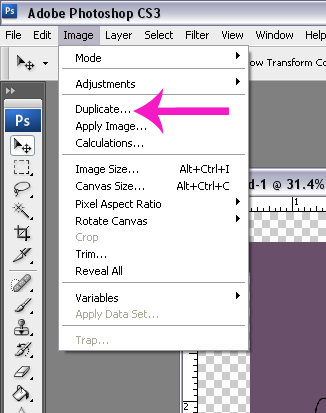
This will give you a box like this:
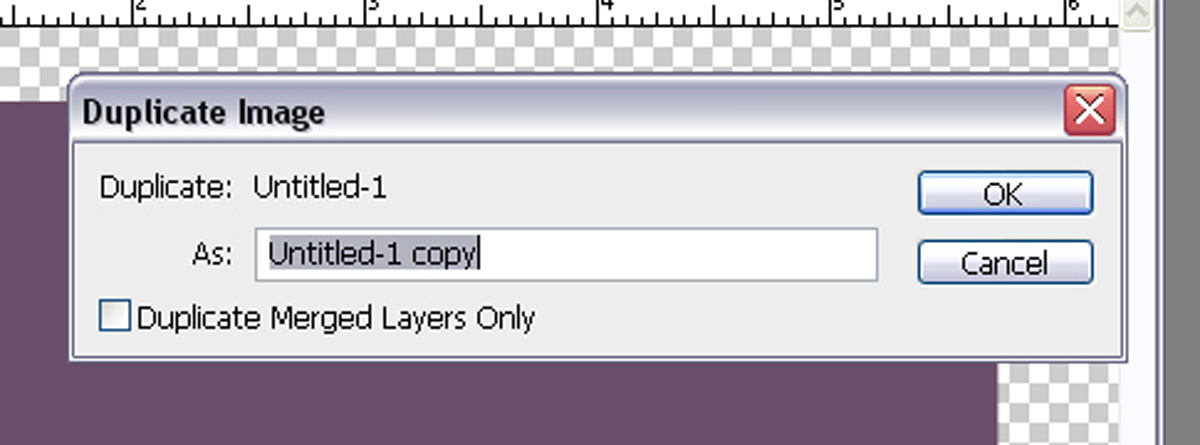
Name is something suitable for your project and then click OK.
Now that you have duplicated the template for the tag, you won’t have to worry about corrupting your tag file if you make a mistake.
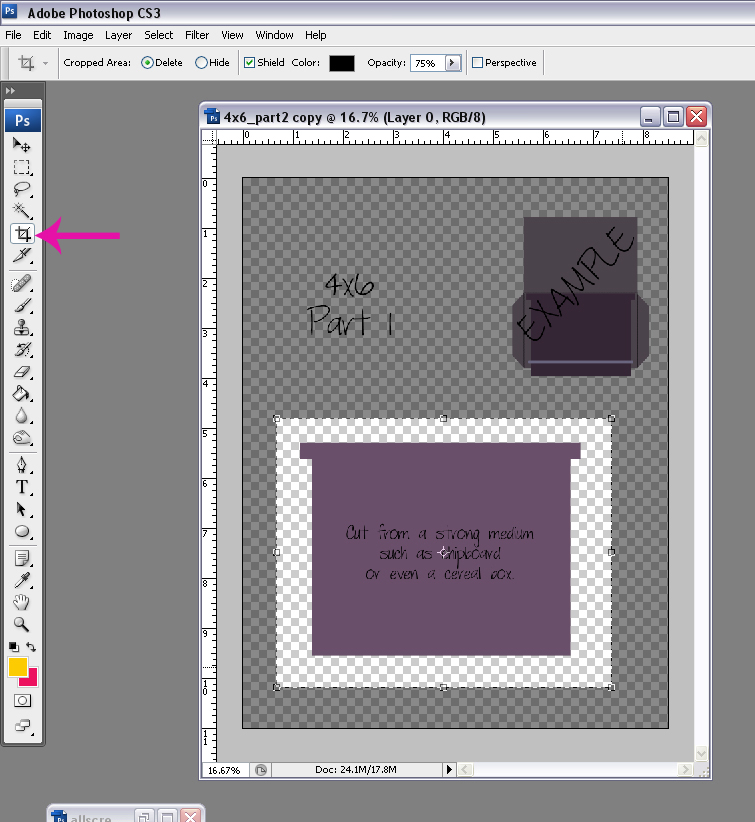
Next, crop your image. This is an important step, which again, will make sense later in the tutorial.
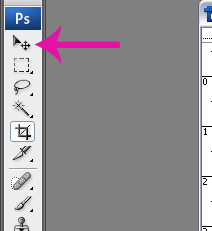
Make sure that you go back and select your “move” tool.
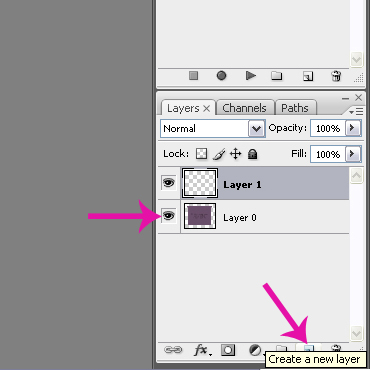
Add a new layer and drag that layer up above your tag layer. This is where you will be making changes to your tag.
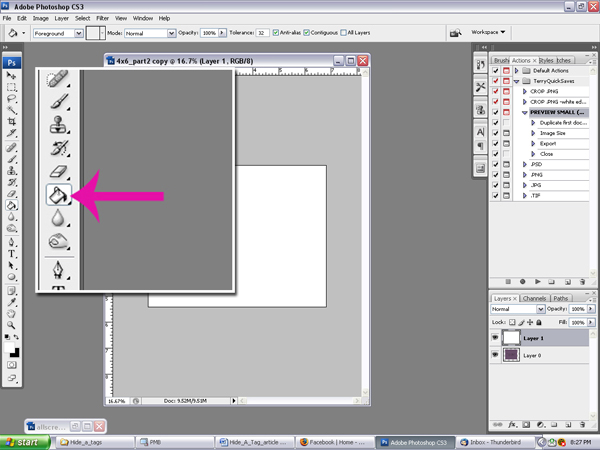
Choose your “paint bucket” tool and whatever color you wish. I always choose white because I can change it and it makes it easier to see what I’m doing. Fill “Layer 2” with your color.
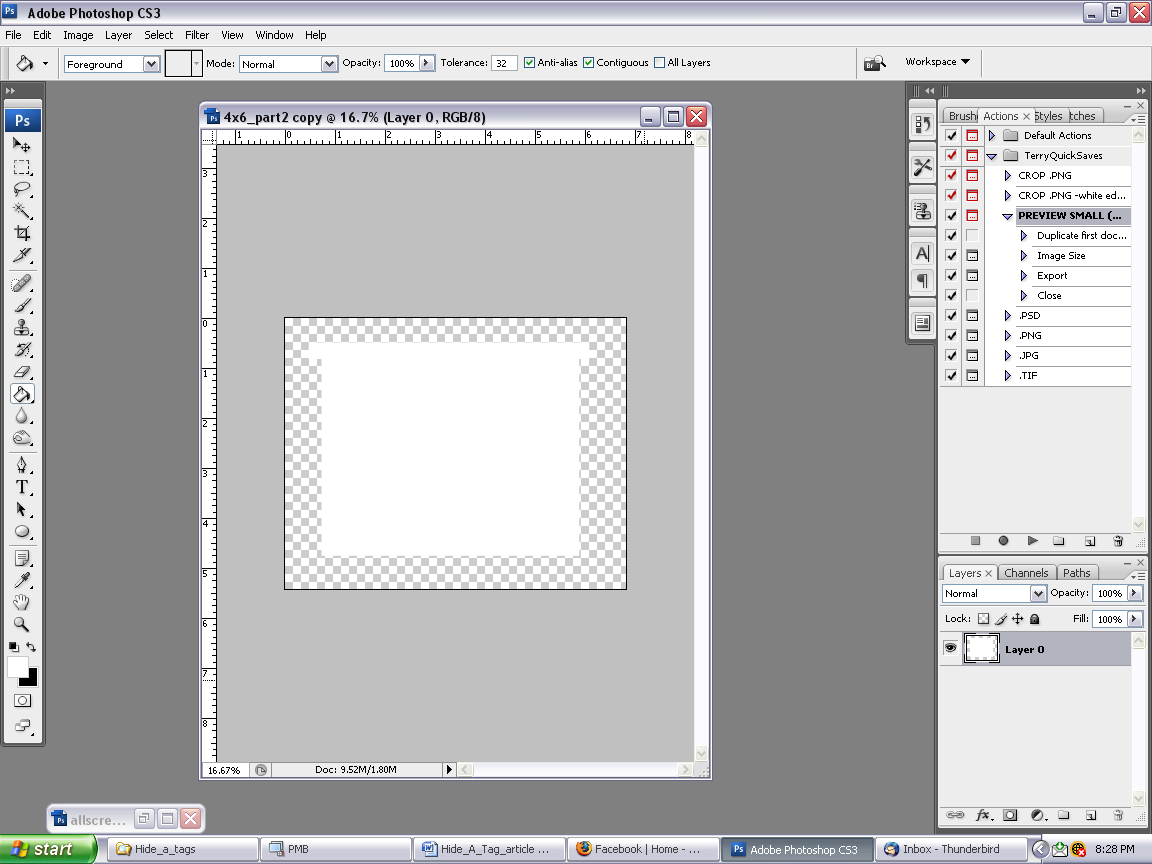
On your keyboard, click ALT/CTRL G. (PHOTOSHOP ELEMENTS: Click CTRL G.) This will give you a layer mask that is the exact shape as your tag. Click ALT E. (PHOTOSHOP ELEMENTS: Click CTRL E.) This will merge your layer mask and your tag together giving you only a white tag layer and nothing else.
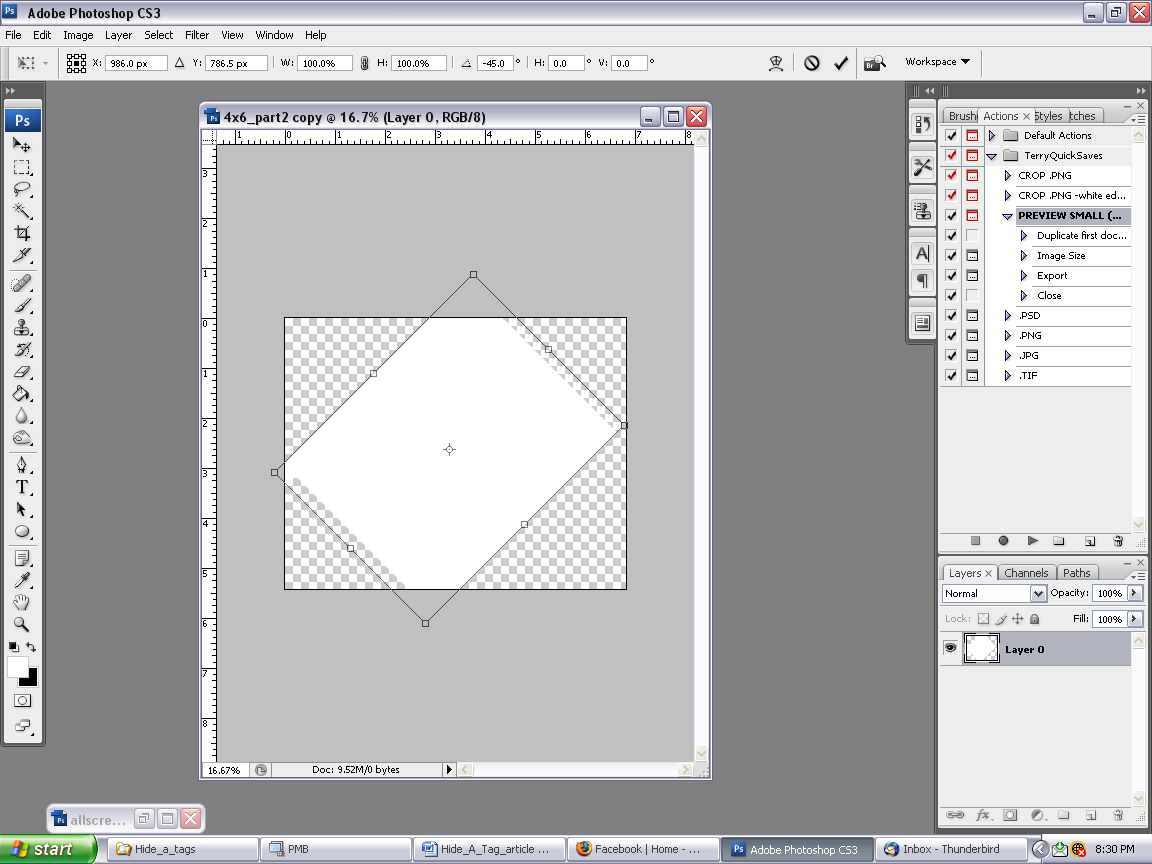
Click your “move” tool and click on your white tag. This should give you a broken line box around the tag. Move your cursor to one of the corners of the tag, hold shift and rotate your tag around so that the tabs are now on the bottom. Click on the checkmark to accept the change.
Double click on the hand so that you can see the tag up close.
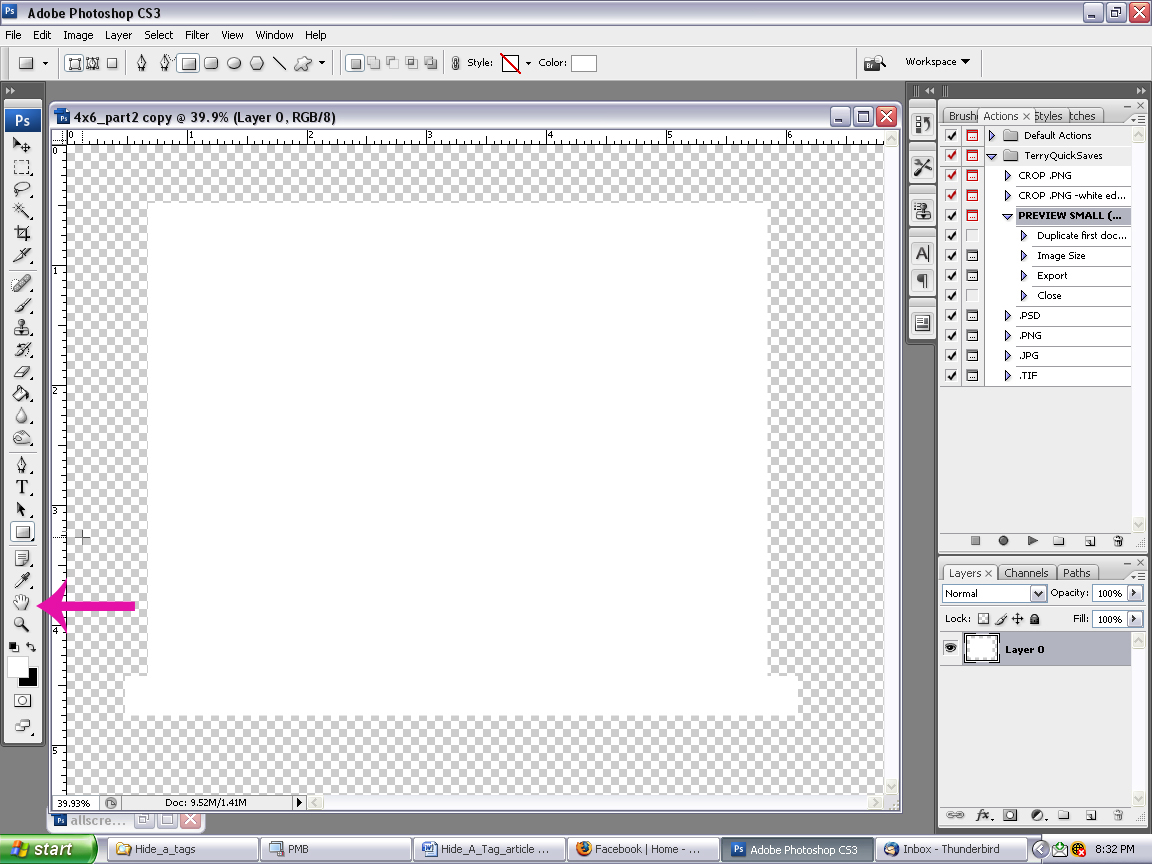
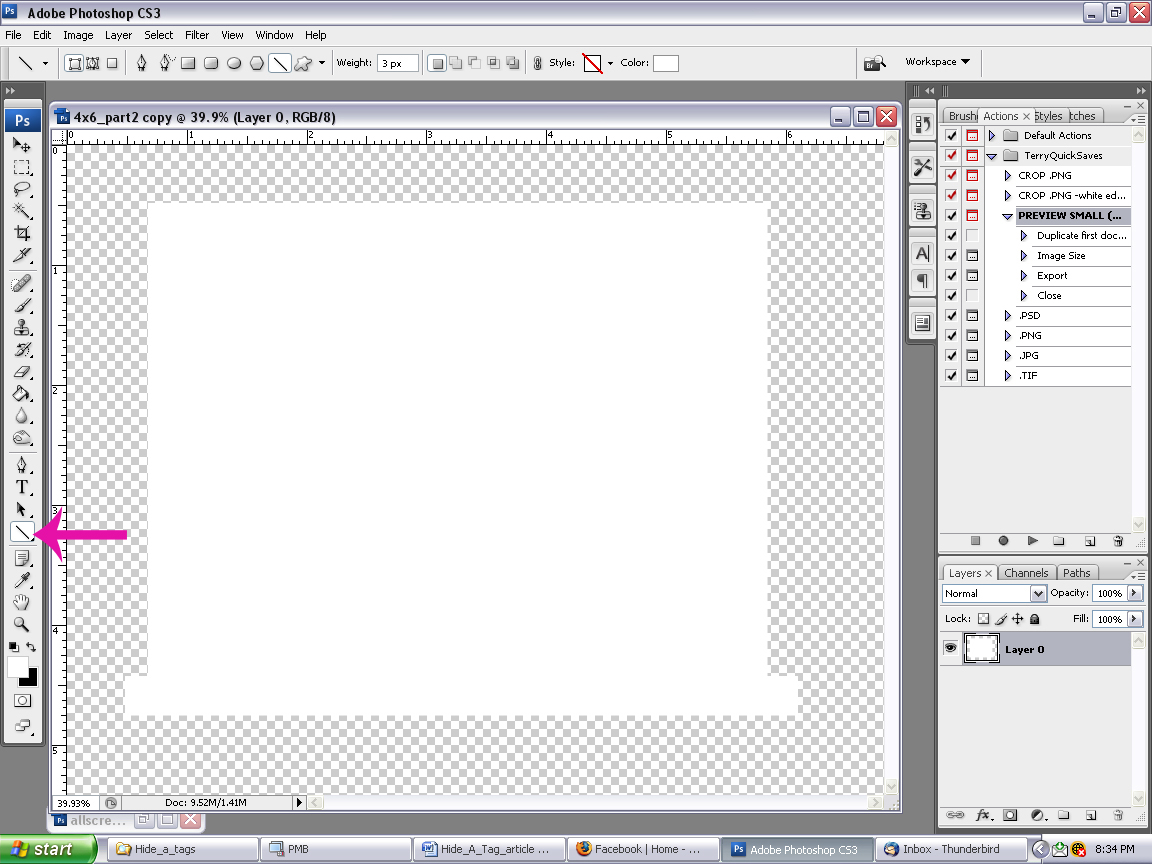
Now we are going to start adding lines to our tag. Click on the shape tool and select the line tool. (NOTE: If you can’t find the shape tool, look for the Rectangular Tool or the Ellipse Tool or just press the U key. You will see the shape tool selected. Then right click on it to select the Line Tool.)
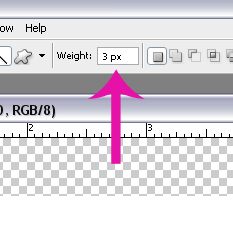
Make sure that your “Weight” box is set to at least 3 px otherwise your lines will be way to thin to see. You can adjust the number up and down to your preference, but this is pretty much the number I stick with. Also, make sure that your foreground color is black! (If you foreground color is white and your background color is black, you can just press the ‘X’ key to switch them.)
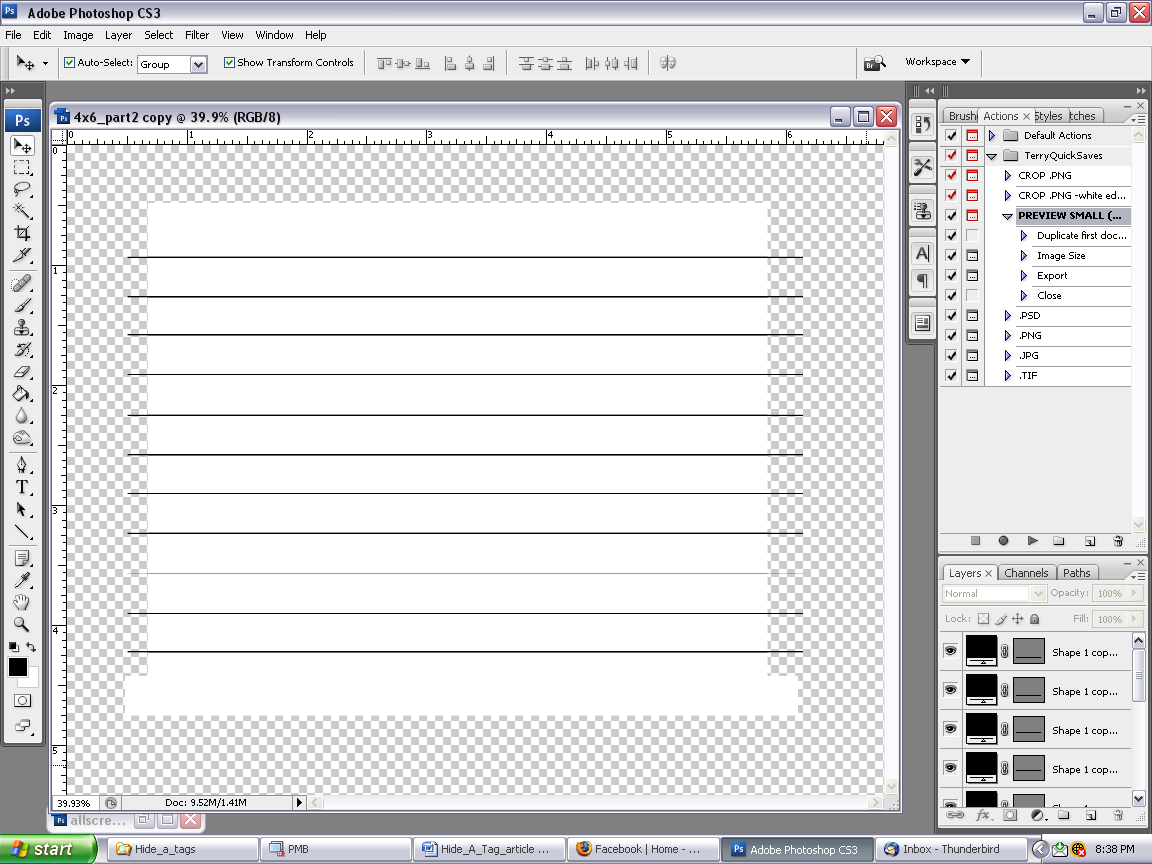
When you start making your lines, hold the shift key down while drawing to make sure that the lines stay straight. Make your first line from left to right, going beyond the tag on both sides. We’ll trim it later.
Rather than try to make lines over and over again, in the Layers Palette box, I drag my line layer to the “new layer” symbol to copy it. (Or right click on the line layer in the Layers Palette box and choose Duplicate.) Then I select my “move” tool and use my arrow keys to move the line down where I want it.
I continue to do this until my lines are spaced the way that I want them all the way down the tag.
When you are happy with how your lines look, select all the line layers (make sure you do not select the tag layer) by clicking the first line layer, holding shift and clicking the last line layer on your layer palette. Right click and choose “merge layers.”
Now all of your lines are on the same layer and will be easy to work with. We are going to trim the lines. Take your cursor and place it over your tag layer. Hold control and click on the box to the left. This will create a line of marching ants all the way around your white tag.
Choose Select> Modify> Contract and when the box pops up, choose 25. This number is up to you, but 25 seems to make a boarder around the object that isn’t too wide, but not to close either. Choose Select> Inverse (this will put the marching ants on the outside of your tag). Now click on the line layer in the Layers Palete and click “delete” on your keyboard.
Hold CTRL and hit “D” on your keyboard to remove the marching ants.
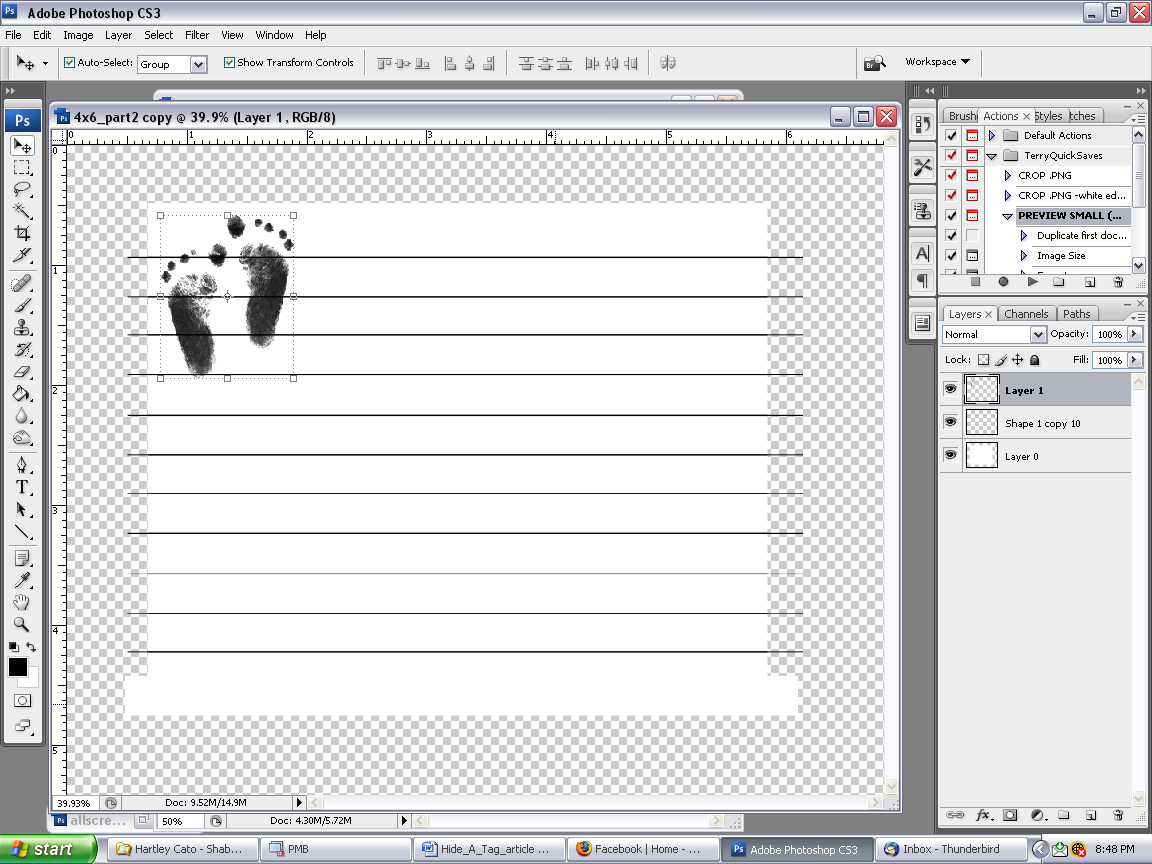
If you have a picture or something that you would like to incorporate into the tag, now is when we will be doing that. I am going to be using this tag in a baby book, so I have a baby image that I want to use. Open your image in Photoshop and resize it to about the size you need it for the tag.
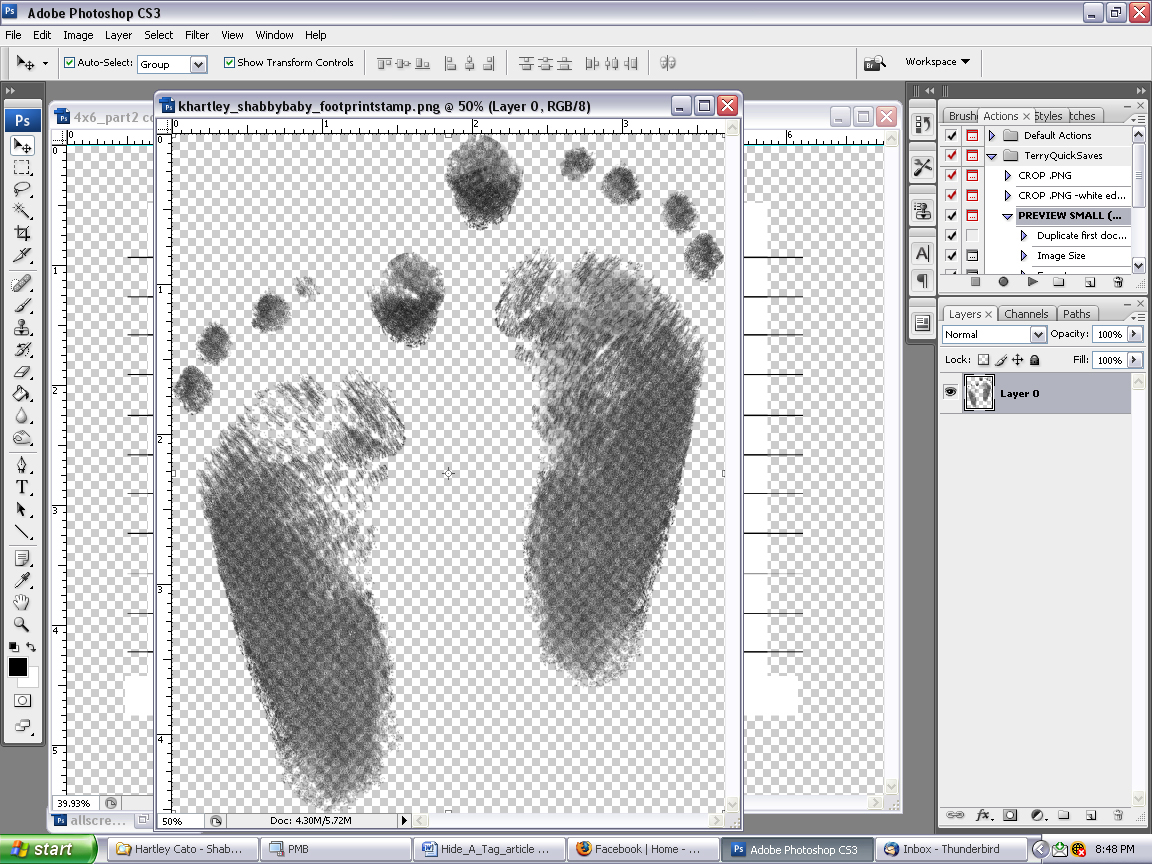
Drag and drop your image onto your tag and move it to the area you want it. Once you have the positioning and the size right, you’ll be ready to adjust the lines around it.
Take your cursor and place it over your image layer in the Layers Palette. Hold control and click on the box to the left. This will create a line of marching ants all the way around your white tag.
Choose Select> Modify> Expand
In the box that pops up, put in 25. This number is up to you, but 25 seems to make a boarder around the object that isn’t too wide, but not to close either.
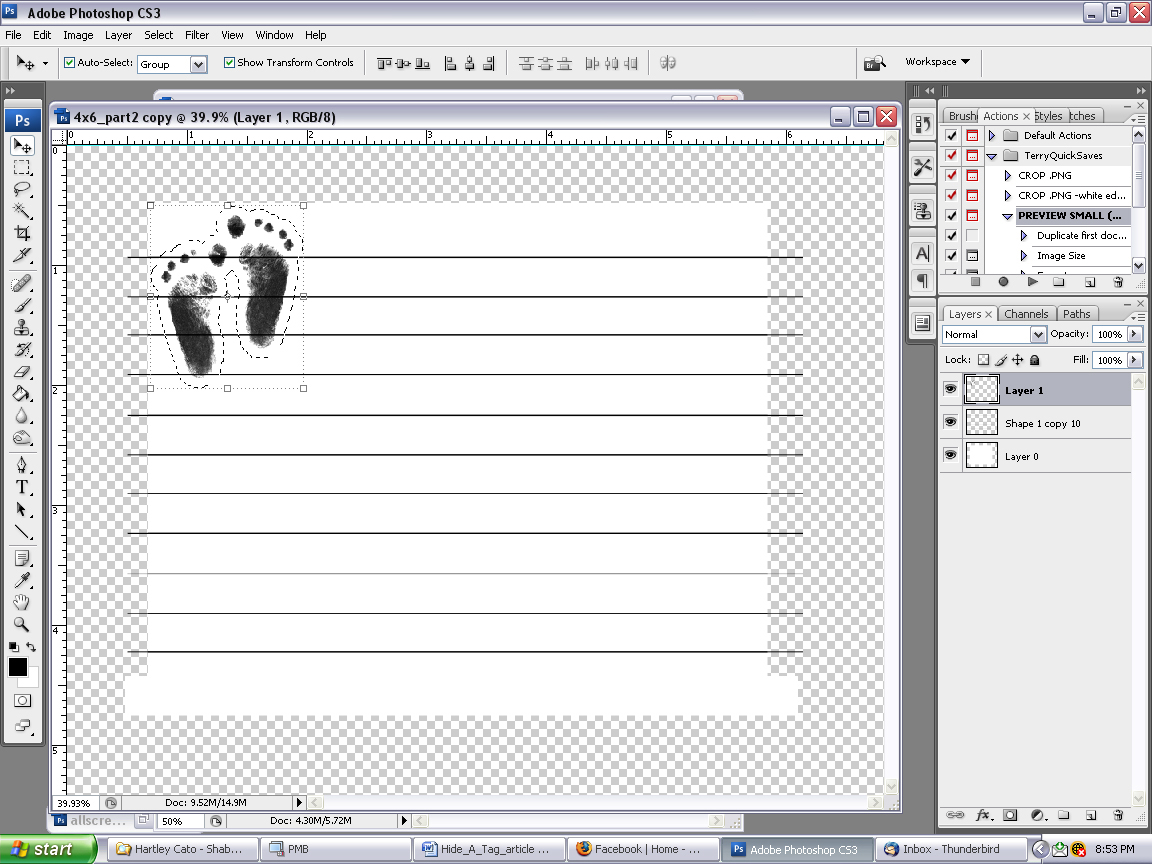
Click on your line layer in your Layers Palette and click delete on your keyboard. Hold CTRL and hit “D” on your keyboard to make the marching ants stop.
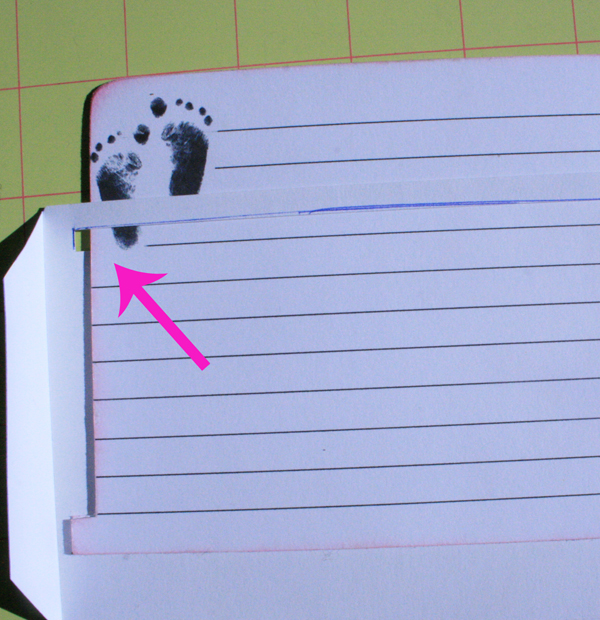
This is close, but really, not quite it yet. I’m not in love with the lines between my little stamped feet or the little bits on the outside on the left. So I’m going to take my eraser and get rid of them. Make sure you have selected your line layer.
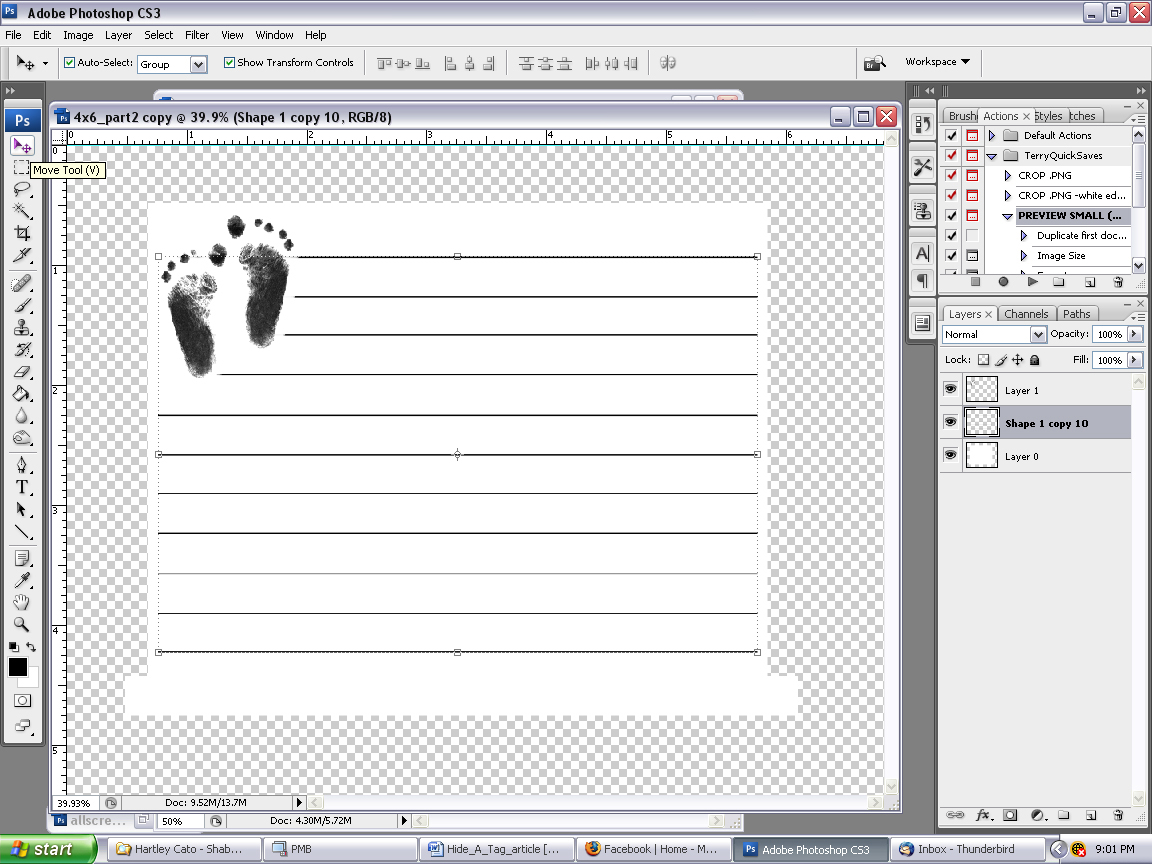
Now my tag looks like I want it too and I’m ready to print.
These tags add so much more room to an album. I use them a lot in small albums (6×6’s mostly).
If you have any questions about this tutorial, please do not hesitate to email me: kelli@tallulamoon.com
I hope that you have enjoyed this tutorial!


I love this article! Great project. Fun way to add journaling.