
Unibind - Look What We Did!
December 4, 2009 by Dream Team
Filed under Product Review, Projects, Vol 2 Issue 4
 Three members of our Dream Team took the Unibind and made some very incredible and creative books. Take a look at what they did!
By Julie Fei-Fan Balzer - Dream Team
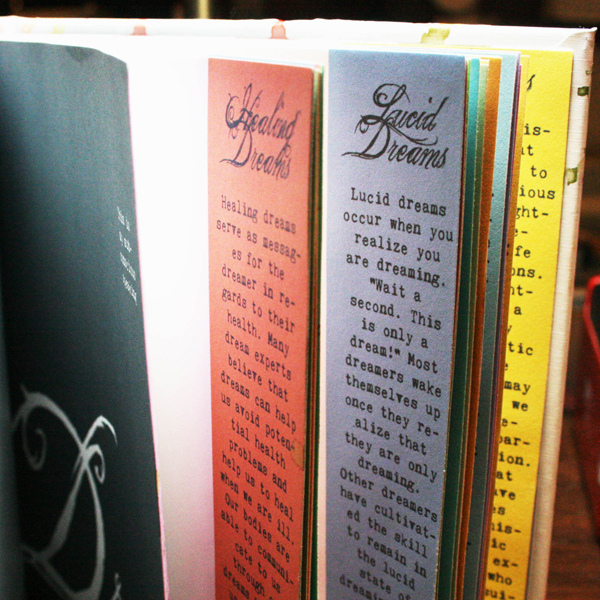
- I created a template in Photoshop CS3 for my 8×8 pages. One for the left and one for the right.
- I filled in the template with a variety of colors and some definitions from an online dream dictionary.
- I also made a cover page and final page in Photoshop.
- Once I printed all my pages out, I adhered them back-to-back, and placed them in the Unibind machine to be bound.
- Then I was ready to decorate my cover. I will say that because I decorated the cover after I bound my book, the pages did get a bit inky. My style tends to be messy, so I didn’t mind, but if you do, decorate the cover first.
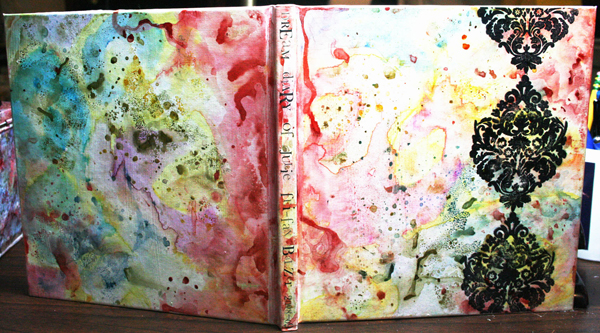
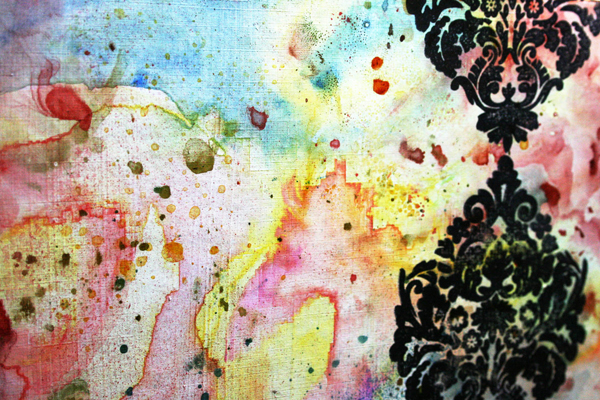
- I painted the cover with a layer of gesso to prime it.
- I used water-soluble crayons to draw swirls of color on the cover and then a wet brush to blend them.
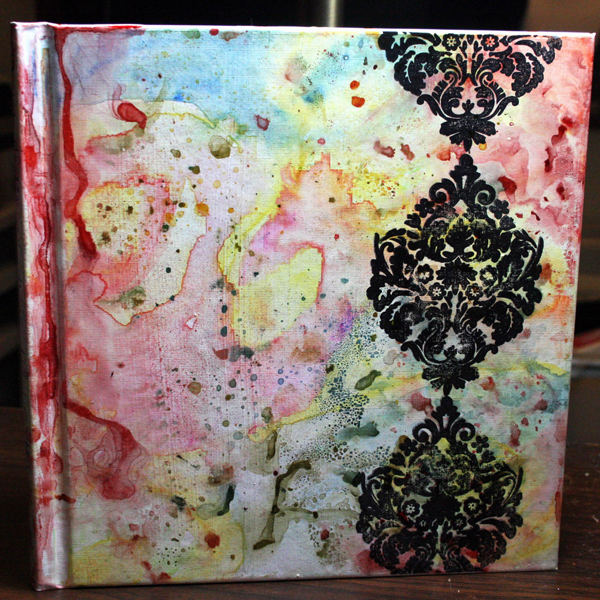
- I stamped with Ranger Archival Ink onto the front cover. It needs to be a waterproof permanent ink
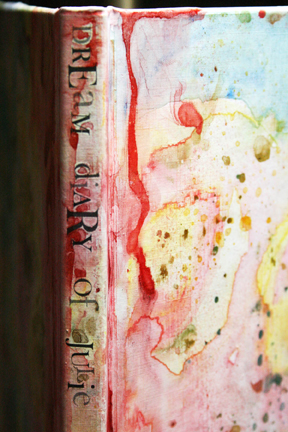
- I used a Tim Holtz technique to add some extra color and texture to the cover. Basically, you apply Ranger Distress Ink pads directly onto a Teflon craft sheet, spritz them with water, and then dab the cover into the ink, heat to dry, and repeat.
So simple, and now I have a beautiful book in which I can write all about my dreams!
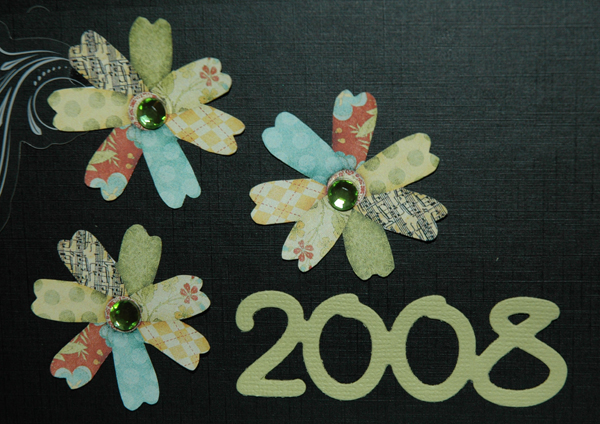
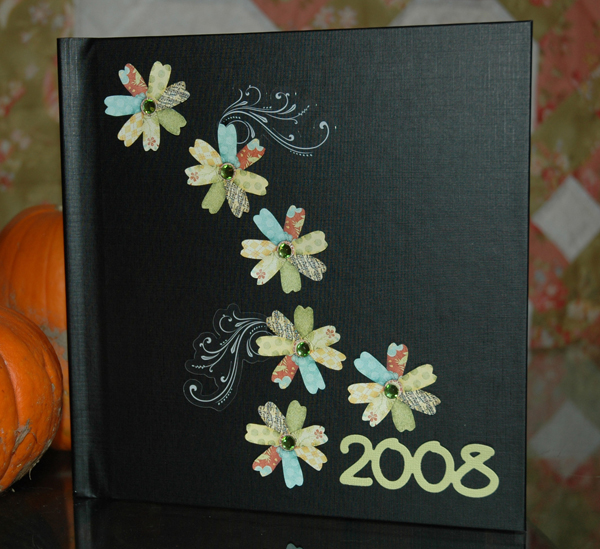
By Julie Kelley
Creating a quick and easy Holiday gift is a piece of cake with the Unibind book covers and binding system. This system could not be easier to use!! Simply put your pages into the cover, place it on the system element, and wait for the green light. Once it cools, the book is complete.
Every year, I create a kind of overview of the year book for the grandparents, I choose my favorite photos from the year, and use quickpages to create a book that I have printed. The Unibind system makes it much easier to simply make them at home. I used a digital kit and QuickPage set by Shabby Princess, along with the 8×8 Unibind cover, Little Yellow Bicycle acrylic swirls, a few craft store gems, and some Bazzill cardstock cut with the QuicKutz calendar set.
Here’s my finished project… I was surprised at how well the pages set into the glue, I tried, but couldn’t pull them out!!
Supplies List:
- Unibind 8×8 cover, and Unibind binding system
- Bazzill Cardstock
- Little Yellow Bicycle Acrylic Swirls
- Shabby Princess Olivia Collection (kit and Piece-a-Cake Album) downloaded from www.shabbyprincess.com
- Craft Store Jewels
- Epson Laser Semi-Gloss paper
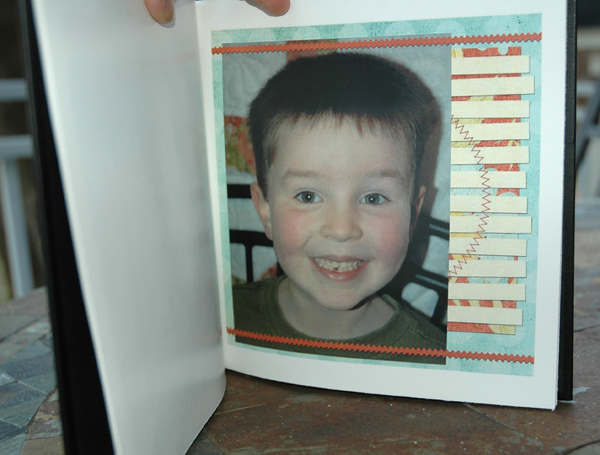
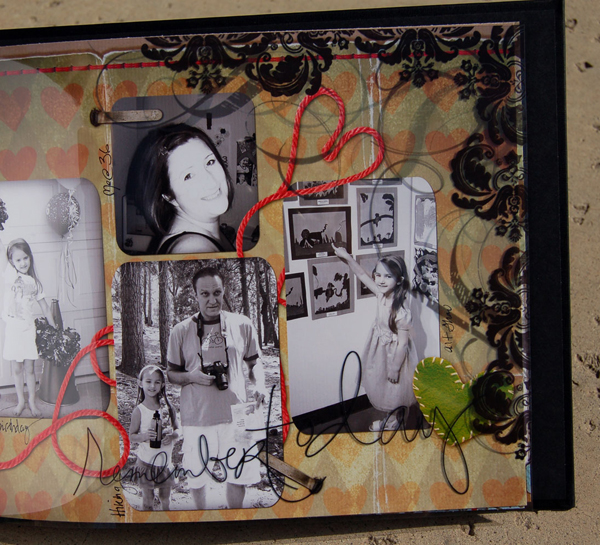
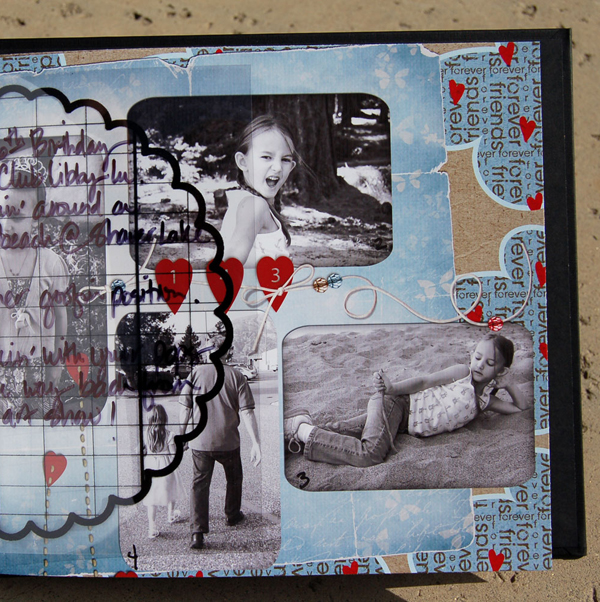
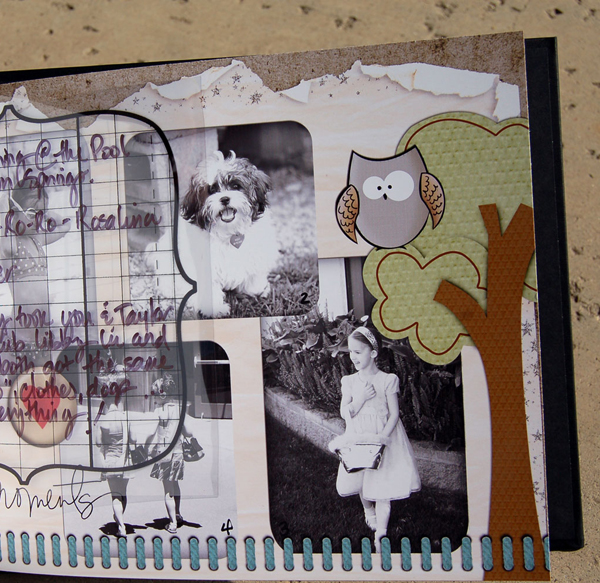
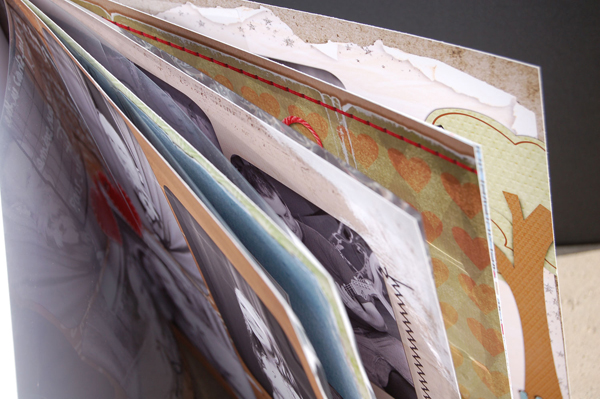
By Chere Nordstrand - Dream Team
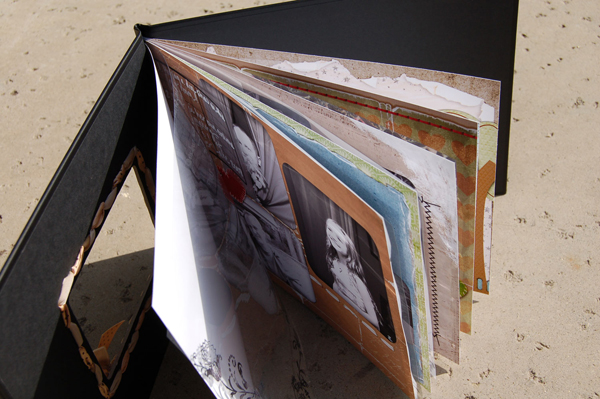
When I received this machine in the mail I thought it was a strange looking contraption and I was curious as to how it was going to bind everything together. It came with a bunch of different sizes of albums to use but I opted for the 8.5 x 11 inch size. It was super easy to print out my pages on letter size paper, put them in order, stack them up and insert into the binding. The machine did the rest of the work for me. Now I have an album that looks like a professional company made it and it only took me a couple hours to complete from start to finish.
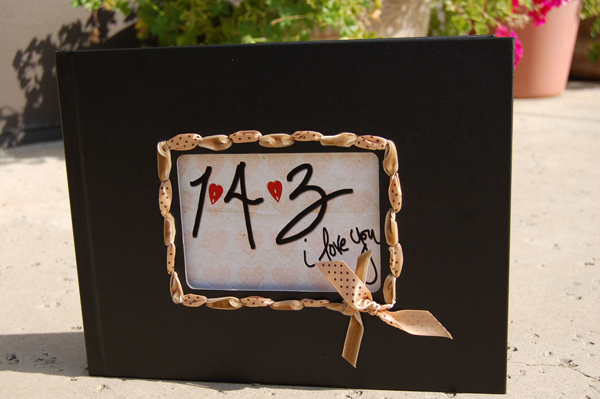
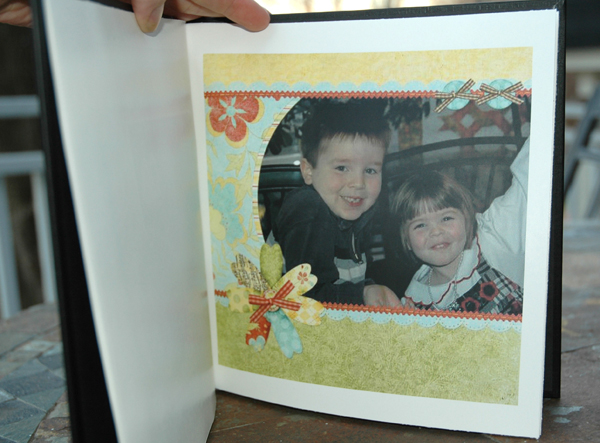
- For the front of it I punched holes about 1/2″ around the inside window with my Crop-o-Dile.
- Then I took ribbon and wove it through one way and then a different piece of ribbon and wove it through the other way to end up meeting at the bottom corner.
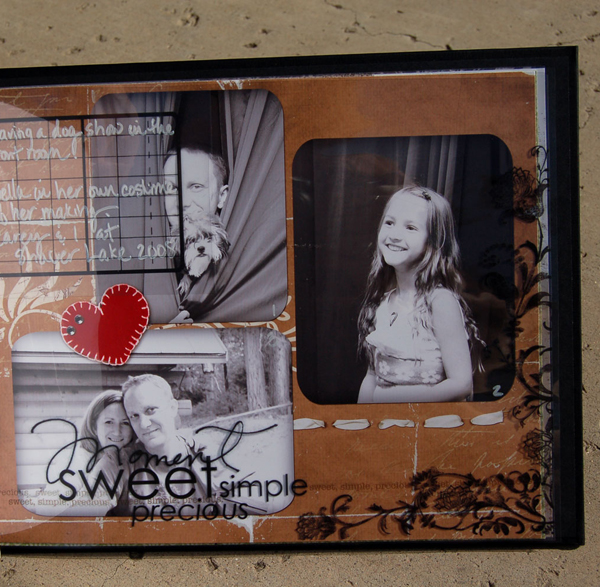
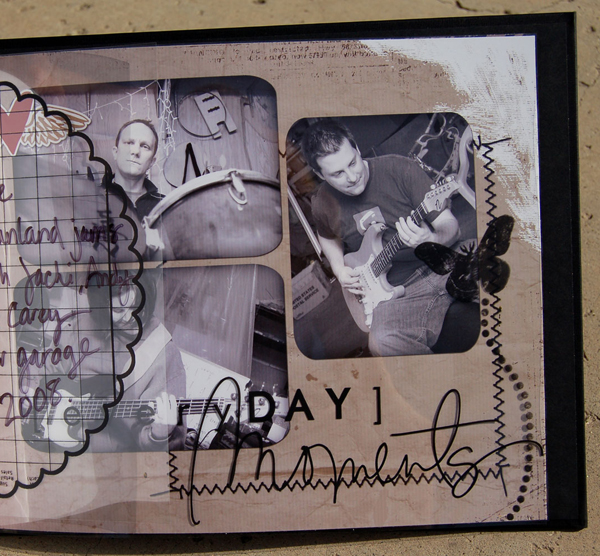
- I arranged my pages in Photoshop and then printed them out.
- I also printed out journaling transparencies and cut them down so that they would be in front of my printed pages.
- In addition, I used printed transparencies with word art on them.
-
I inserted the end of the transparencies down into the binding with the rest of the papers and it seemed to seal fine and there wasn’t any problems with thickness at all.

- Artemia Collab Kit-After Five Designs
- Speak Clearly by Amy Hutchinson - After Five Designs
- Rhonna Farrer- Gypsy Element Kit, Two Peas
- A Lilfe Inspired Kit by Kasia Designs - Shabby Pickle Designs
- Time-Handwritten Brushed by Karla Dudley - After Five Designs
- Transparencies
- Ribbon
- Crop-o-dile
![]()
 "Photo Cube" Layout
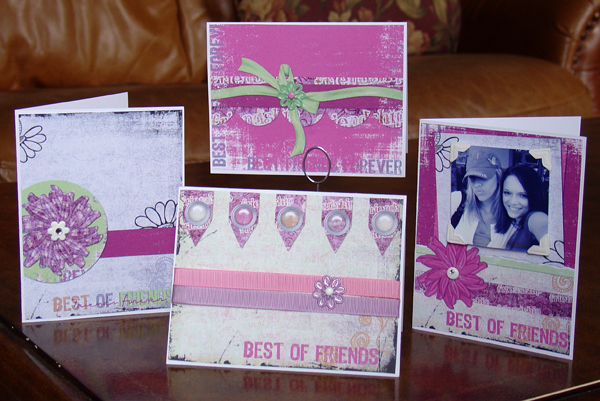


Facebook comments: